Flower crowns – delightful, beautiful and fun! There is no surprise they have captured the hearts of people worldwide. From hen parties to festivals, birthdays to social gatherings, they've become a beloved activity.
After pouring your heart and creativity into making the perfect headpiece, you want it to last. So that you can flaunt your beautiful creation time and time again. That's where the brilliance of Shropshire Petals dried flowers come in. Dried flowers are not only sustainable and kind to the environment, but they will also stand the test of time. Talk about a win-win situation!
Curious on how to create your very own floral masterpiece. We have put together an easy-to-follow step-by-step guide on how to make your very own dried flower crown. So, with that said, it's time to let your creative side out, and master up some floral magic!

Step one – Prepare your materials
Before getting started, we advise you to get prepared. Clear your workspace, and ensure you have all of the materials you need readily at hand.
To create your DIY dried flower crown, you will need the following;
- Wire – to shape to your head, creating the base of your crown.
- Floristry Tape – to attach your dried flowers to your base.
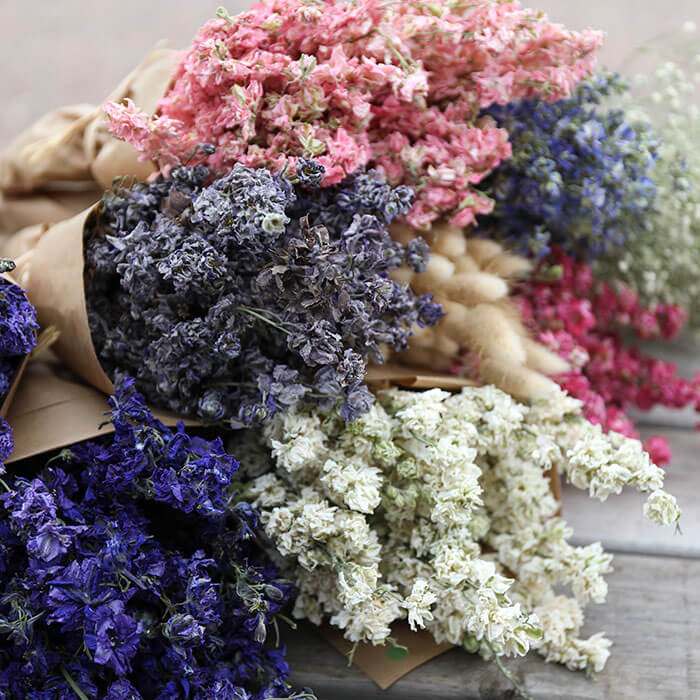
- Dried Flowers – Carefully select your favourite British grown dried flowers from our website.
- Ribbon - You will require some ribbon to tie your crown to your head, if you prefer a more rustic look, try using jute instead.
- Secateurs – To trim your dried flowers, wire and tape.

Step Two – Measuring your crown
Now that you have everything you need, you can begin to get creative. Start by measuring your wire around the circumference of your head. Make sure you leave around 3 inches extra on the ends, as you will need to twist these to create a loop for your ribbon.
Do this by folding the bottom of your wire back on itself, then twist the two wires together, which will leave you with a loop.
Tip - Double check your crown still fits, and re-adjust if you need to.

Steph Three – Cut Your Dried Flowers
Cut down your stems to around 3-4 inches long, this will make it much easier for you to arrange your dried flowers along the wire, and make it must less fiddly.
We chose to use Natural Oats, Natural Lagurus, Gypsophila, Pink Helichrysum, White Rhodanthe and Lilac Statice in our flower crowns, you can explore our whole range of dried flowers here.
Once you have your favourite blooms lined up, it is now time to add them to your crown!
Put three stems together before attaching to the wire. This will not only give the crown a nicer fuller finish, but also ensure it is more sturdy.
Tip - We recommend, changing which three you add each time to give variation.
Attach the stems using your floristry tape, by wrapping it around the stems a several times until you are happy they are fixed in place.

Step Four – Begin to Make Your Crown
Now that you have added all of your dried flowers to your crown, and are happy with how it looks. It is time to add your finishing touch.
Choose the desired length of your ribbon, you may want a statement trailing bow, or something quite rustic and simple.
Thread your ribbon through one of the loops you made earlier, and then through the back of the second. This should leave you with two ends to tie as a bow once placed on your head.

Step Five – Voilà!
Position your flower crown, tie the bow, and enjoy a little floral elegance.
We hope you enjoy making your crowns, and please tag us on social! We will be wearing ours on our stand at the Interflora World Cup!

For more DIY workshops follow us on Pinterest, Instagram, Facebook and Linkedin
With Love
SP xx